diy jewelry box
Wishing Erin lived closer so I could give her a mah-jor hug for this one! Check out her easy and creative DIY Â jewelry storage solution… that would also make an amazing, heartfelt gift! It makes me want to make this, this or this even more to start filling this cutie up!
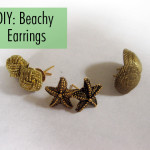
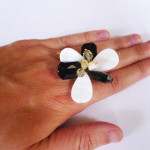
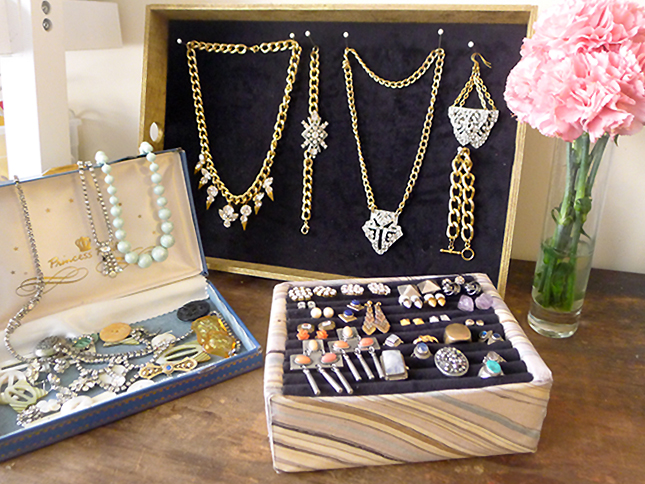 Hey TAGG readers! I’m back from over at Thanks, I Made It with a new DIY for you. When you’re an absolute jewelry fiend like me and my girl Alyson here, you tend to crave solutions to store your baubles just as much as your next statement necklace. With my ever-growing collection of rings and earrings (lots of DIY earrings over at Thanks, I Made It!), I need a clear way to organize and display them that is pretty and functional.
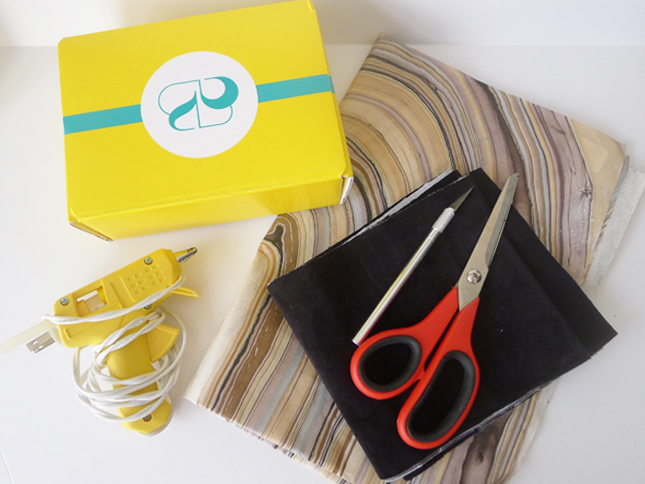
Tools and materials:
Velvet or other soft, cushiony fabric (I used a long piece 6 1/2 x 54 inches, folded in half)
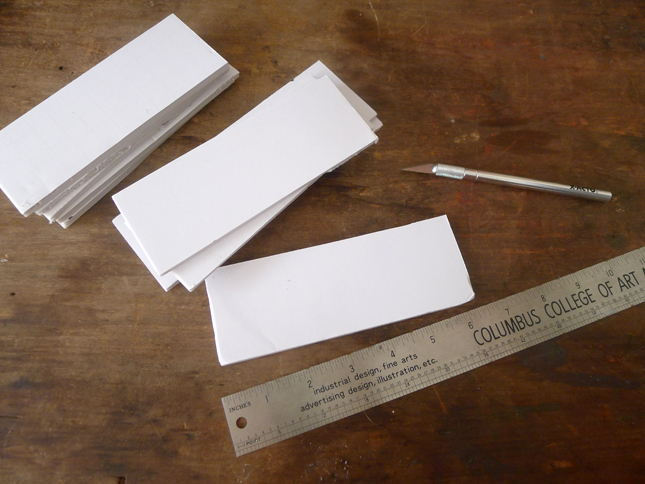
Foam core
Small box (this one from a baublebar purchase!)
Craft knife and/or scissors
Ruler
Decorative paper
Hot glue and glue gun
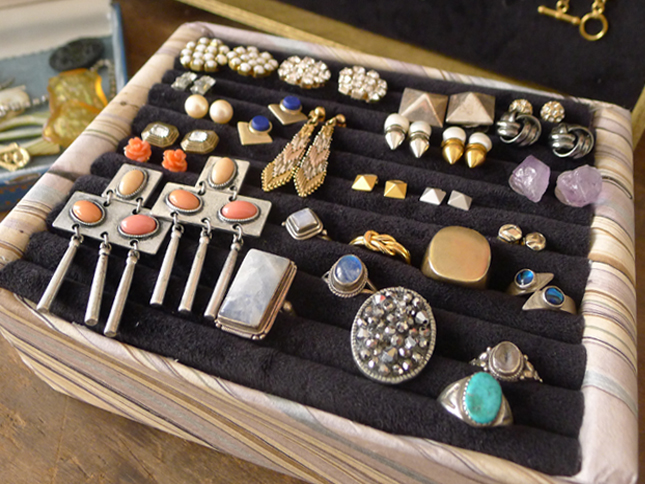
Check out how easily this box transforms in the pictures and tutorial after the jump…{you know you’re curious!}
 Cut away the lid to the box, if necessary, and wrap in the paper, leaving the top open. Secure with glue or tape.
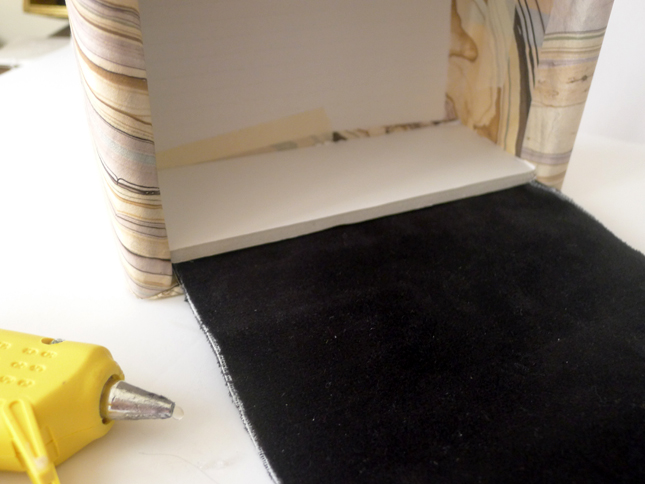
Taking your long strip of velvet, glue one end onto the inside of the box. Apply glue to one of the foam core rectangles and  press against the velvet. Fold the the fabric about halfway down the foam core, and glue in place. Continue folding, gluing, and adding additional rectangles of foam core.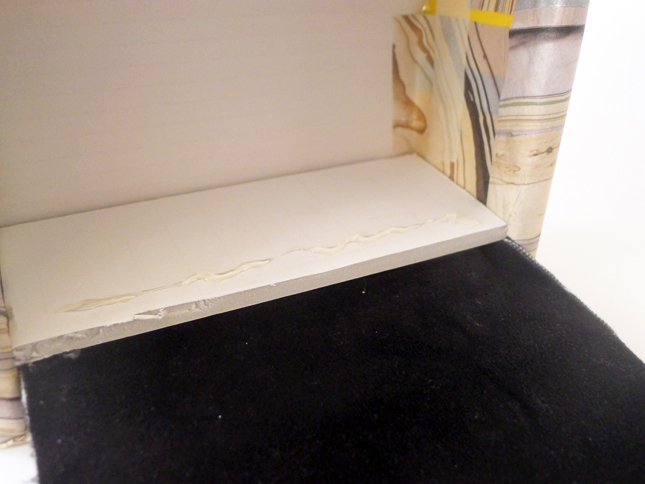

For weekly DIYs and loads of project inspiration, be sure to follow Thanks, I Made It on Facebook or Bloglovin‘!


May 17, 2013
Awesome! Following her blog!
May 15, 2013
Love this what a fab way to upcycle a spare box!
May 15, 2013
LOVE THIS! so helpful…If only I could be so crafty. But seriously, it’s a great solution plus you get to look at all of the sparkles
xx,
Julia
http://www.lemonstripes.com
May 15, 2013
i def need some prettier ways of sharing my jewelry!!
xo,
Sandy
Sandy a la Mode
May 15, 2013
I love this - a cute and practical way to store jewelry!
XO
http://www.pearlsandpaws.blogspot.com
May 15, 2013
I so badly need a box like that for my rings & stud earrings…mine are a jumbled mess and I have to dig through the pile just to find the ones I’m looking for. Love this post - thanks for sharing!